Method 1: Select configure from Project Selection screen
- Open Android Studio
- In the bottom right corner, there is a link that says
configure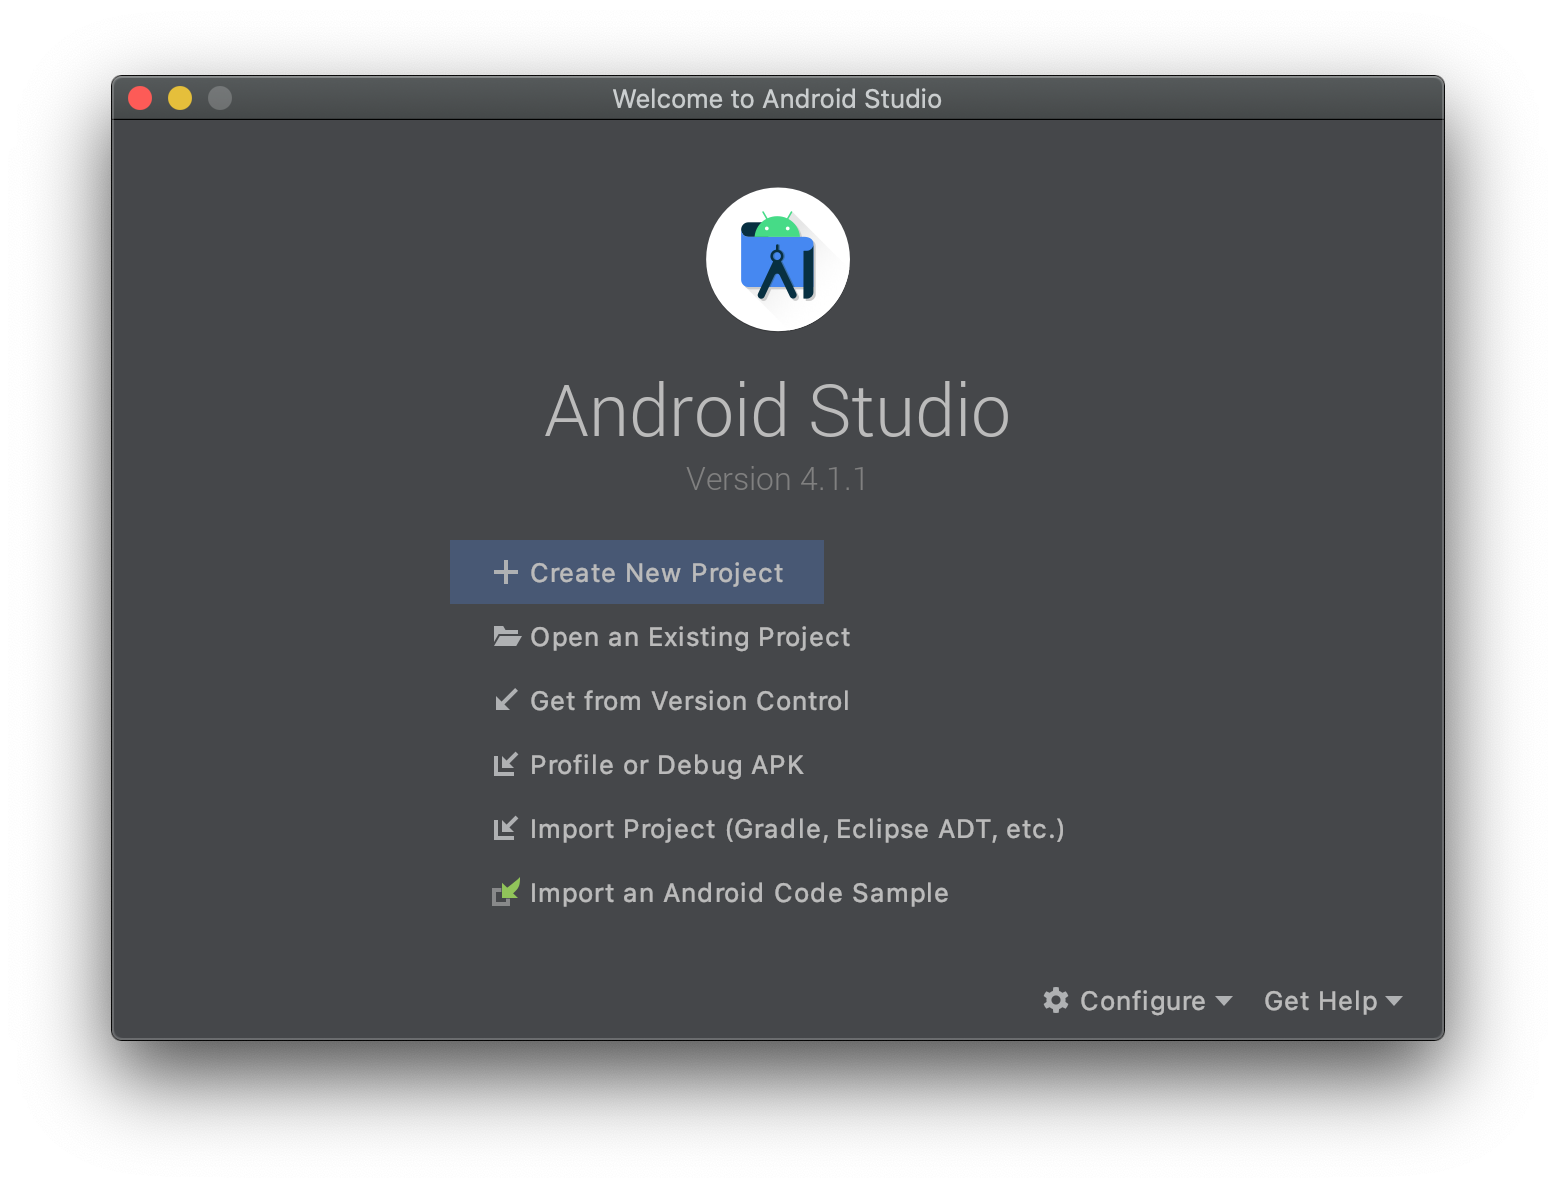
- Once in the configure menu, select
AVD Manager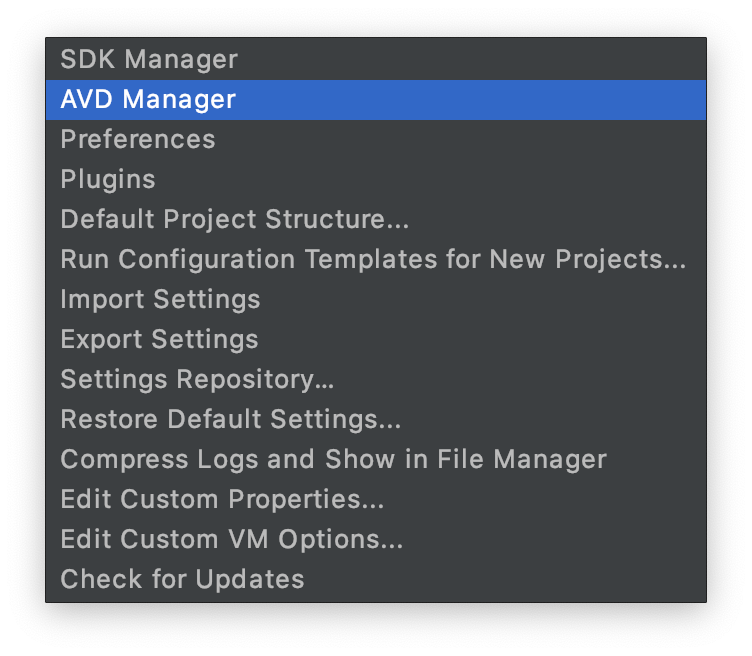
Method 2: Tools -> AVD Manager
- Open Android Studio
- Open or create a project
- In the menu bar, select
Tools -> AVD Manager
Bonus - Method 3: Select a device when no device is represent
If you are in a project and have no physical devices connected and no virtual devices created.
- In the top bar, right below the menu bar, you’ll see a dropdown that says
No devices
- Select the
No Devicesdropdown and SelectAVD Manager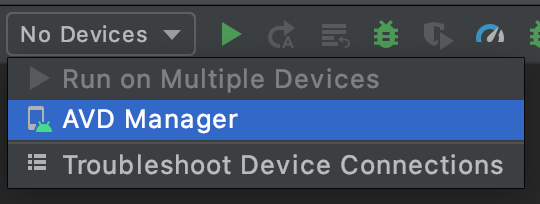
Creating an AVD
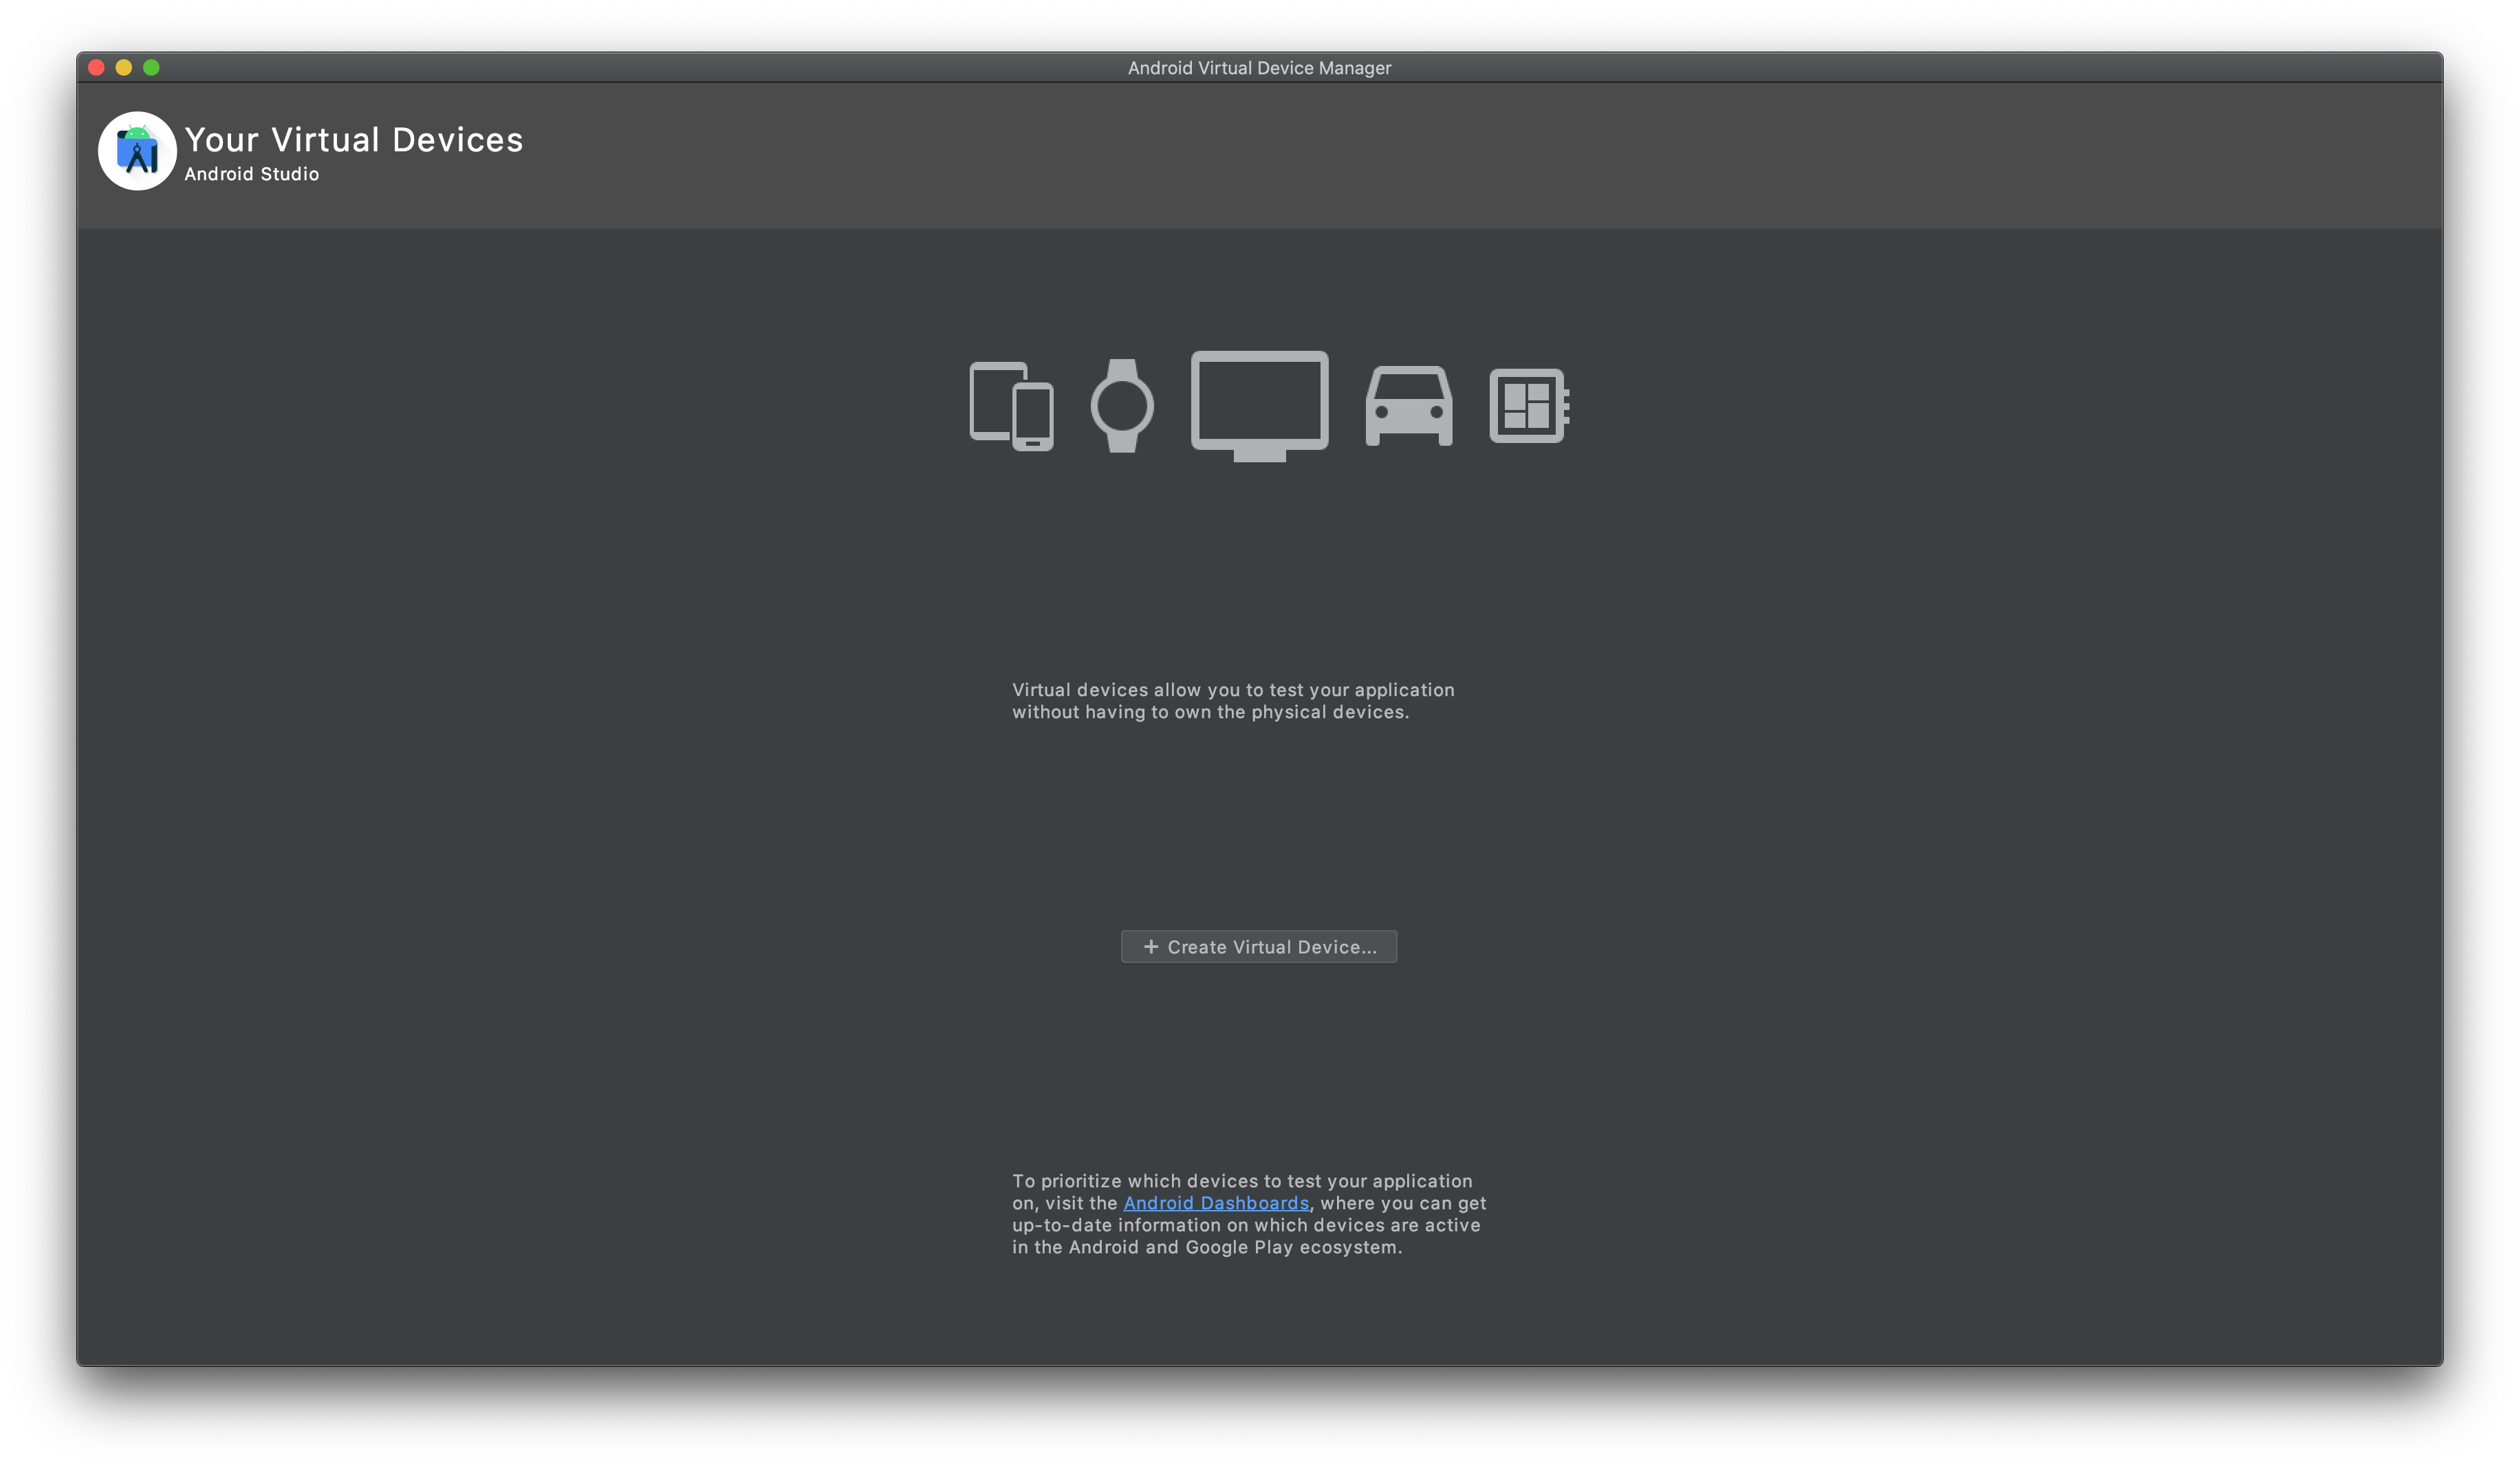
If you’ve made it this far, great, you’re only a couple more clicks away from having a debuggable testing device.
- Select
Create Virtual Device - Any device will work on this screen, but if you have plans to include Google Play Services in your app, I suggest you select a device with Google Play Services installed. You’ll see an icon under
Play Storeif this is the case. SelectNext - Download/Select the most recent System Image or the one most applicable to your Project. Select
Next - Select
Finishon the next screen. - You have an AVD! Now just select the play button all the way to the right and you’re ready to go!
Congratulations.